Cara Membuat Website dengan Hugo SSG

Daftar isi
Hugo Dasar - This article is part of a series.
Hugo adalah alat yang hebat untuk membuat website.
Saya punya beberapa alasan untuk suka menggunakan Hugo.
Hugo itu simple, boring, flexible, fast.
Terlepas dari alasan di atas. Hugo benar-benar membebaskan kita untuk memiliki situs pribadi dengan kendali penuh. (lihat About)
Buat Situs Hugo #
Hugo menyediakan perintah berikut untuk membuat website …
hugo new site [nama-website]
Sebagai contoh.
Saya akan membuat website bernama suigen:
hugo new site suigen
Congratulations! Your new Hugo site is created in /home/suigen.
Just a few more steps and you're ready to go:
1. Download a theme into the same-named folder. Choose a theme from https://themes.gohugo.io/ or create your own with the "hugo new theme <THEMENAME>" command.
2. Perhaps you want to add some content. You can add single files with "hugo new <SECTIONNAME>/<FILENAME>.<FORMAT>".
3. Start the built-in live server via "hugo server".

Visit https://gohugo.io/ for quickstart guide and full documentation
Berdasarkan Return atau hasil di atas, ada 3 (tiga) poin penting, yakni:
Kita bisa download tema melalui themes.gohugo.io atau membuat tema sendiri dengan ketik
hugo new theme [nama-tema],Bila ingin membuat content, ketik
hugo new [nama-folder]/[nama-file].[format](contoh:hugo new post/hugo.md), dan
-Bila ingin membuat live server, ketik hugo server, dan serta
Kamu bisa mengunjungi https://gohugo.io/ untuk pemahaman lebih;>
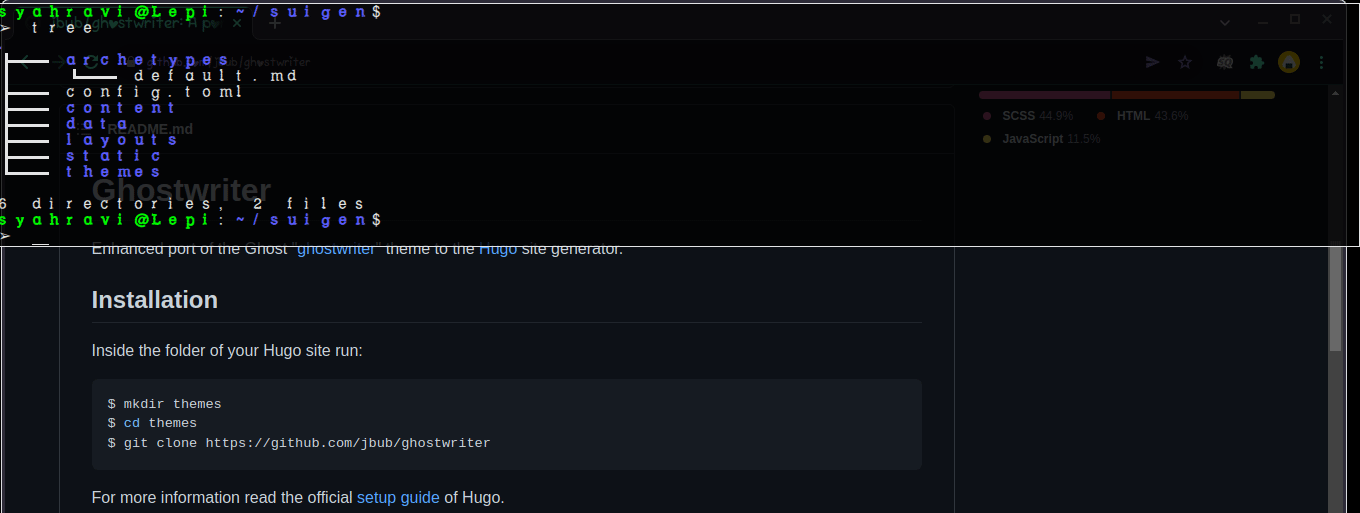
Mari kita lihat isi folder dari suigen
cd suigen
tree
.
├── archetypes
│   └── default.md
├── config.toml
├── content
├── data
├── layouts
├── static
└── themes

6 directories, 2 files
Pilih dan atau Buat Tema #
Hugo memiliki banyak kontributor pembuat tema yang disebarkan secara gratis.
Silahkan cari tema yang kamu suka di: themes.gohugo.io
Pilih tema yang mana saja.
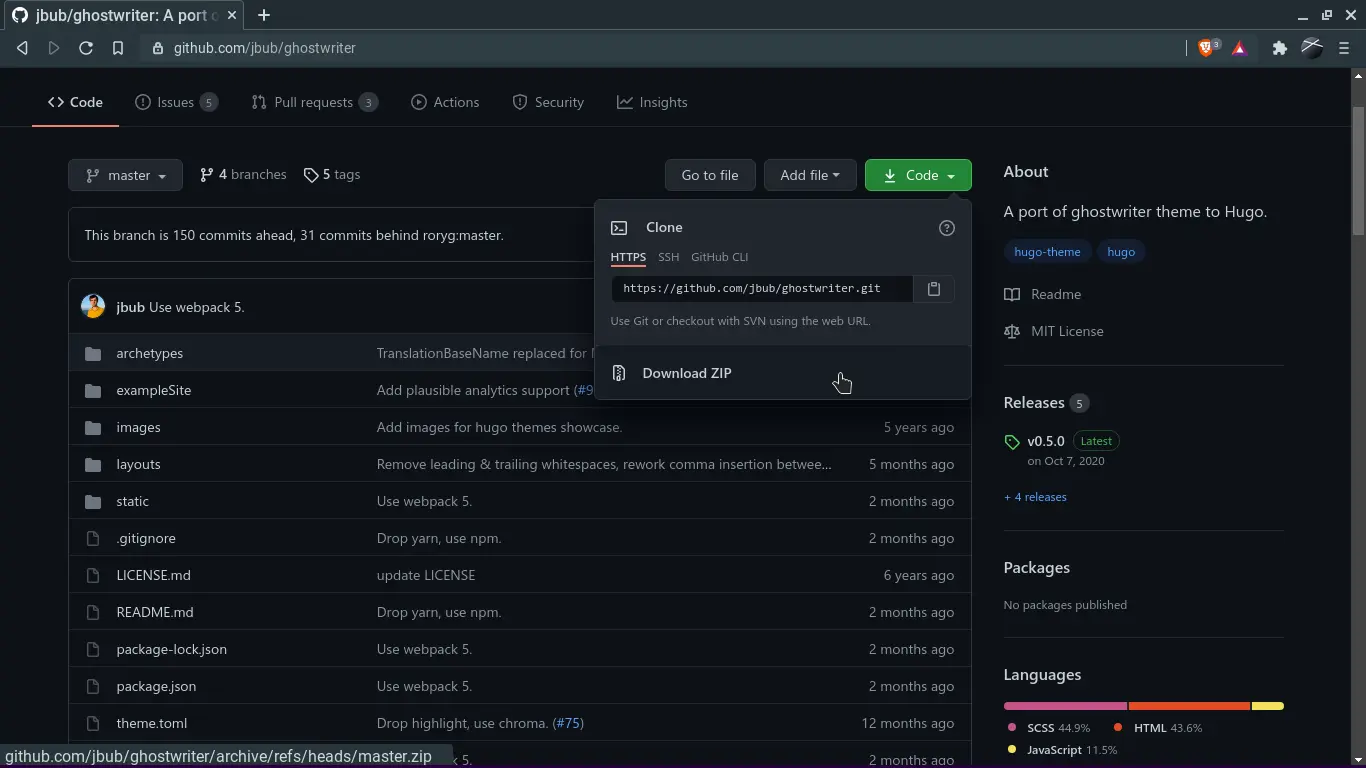
Kami pakai tema Ghostwriter
Letakkan di folder themes/.
tree
.
├── archetypes
│   └── default.md
├── config.toml
├── content
├── data
├── layouts
├── static
└── themes
    └── ghostwriter
        ├── archetypes/
        ├── exampleSite/
        ├── images/
        ├── layouts/
        ├── LICENSE.md
        ├── package.json
        ├── README.md
        ├── static/
        ├── theme.toml
        ├── webpack.config.js
        └── yarn.lock
Perhatikan ada folder exampleSite. Buka dan buka content. Di sini, kamu bisa lihat subfolder page, post dan project.
Pindahkan page, project dan post ke folder suigen/content situs.
tree
.
├── archetypes
│   └── default.md
├── config.toml
├── content
│   ├── page
│   ├── project
│   └── post
├── data
├── layouts
├── static
└── themes
    └── ghostwriter
Cara Konfigurasi pada Hugo #
exampleSite menyediakan config.yml.
config.yml adalah file konfigurasi Hugo, yang memberi tahu Hugo beberapa detail konfigurasi.
Pindahkan config.yml ke folder suigen.
suigen
└── config.yml
| |
Di atas adalah config.yml yang kami pindahkan dari exampleSite. Kami yakin kamu akan paham konfigurasi hugo.
Kamu bisa dengan bebas menyesuaikan informasi di dalam file config.yml
- hugo new site suigen

- Isi folder suigen

- Download Ghostwriter Themes
- Pindahkan isi exampleSite

- Hapus config.toml

hugo server
- localhost:1313/
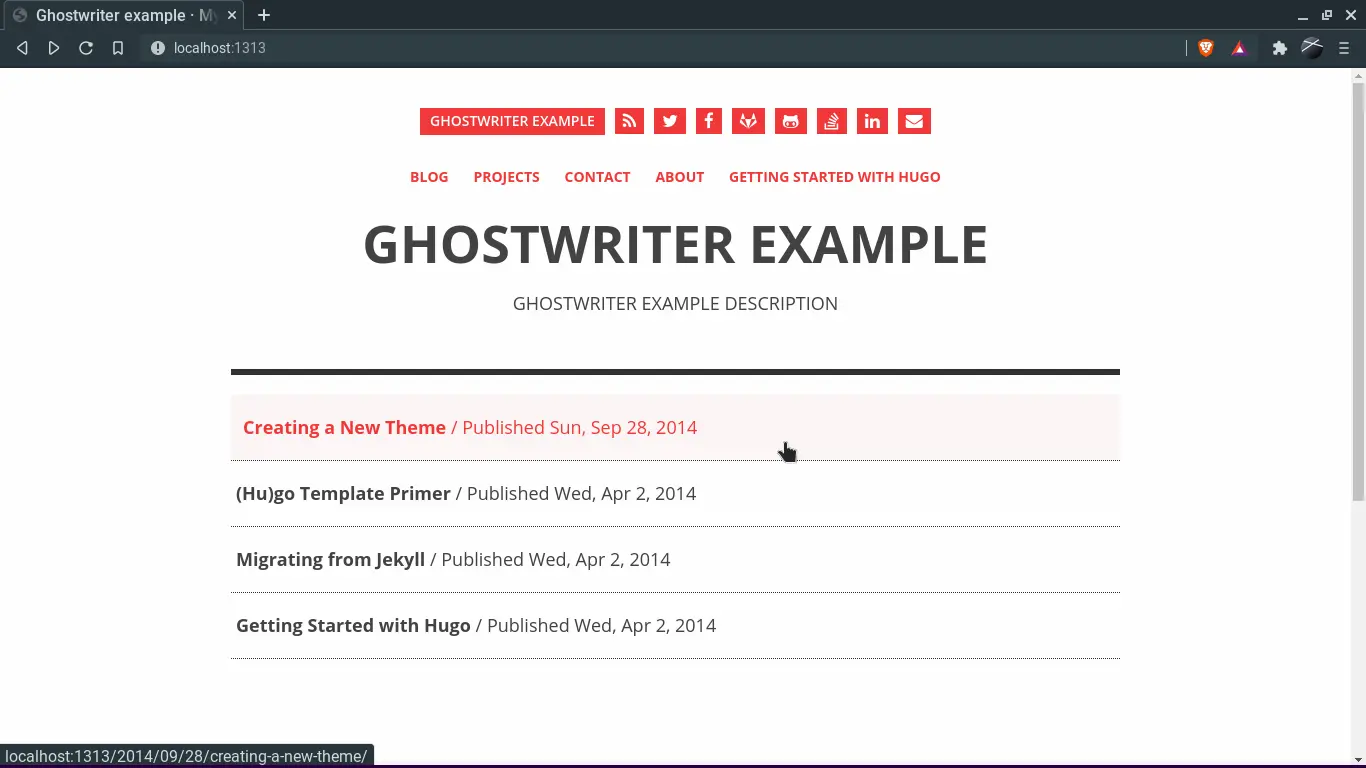
Hugo berhasil tampil dan bagaimanapun juga, kamu telah membuatnya.
Lanjut ke artikel cara publish situs hugo ya;> »»» Deploy Hugo ke Netlify